- Connect the wireless adaptor dongle to the printer and switch the printer ON.
- It will print out a status page as shown below.
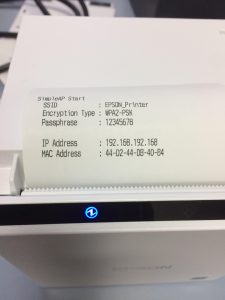
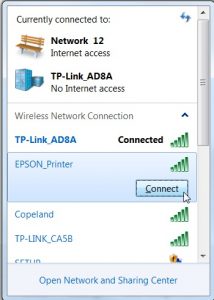
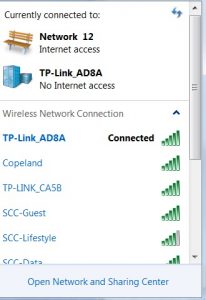
3. From your computer, connect to the printer network from the lower right side of the taskbar as shown below. The printer network is by default EPSON_Printer.
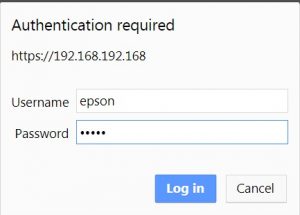
4. Type the IP address mentioned in the printout on a web browser to open the printer configuration page.
Username – epson and Password – epson
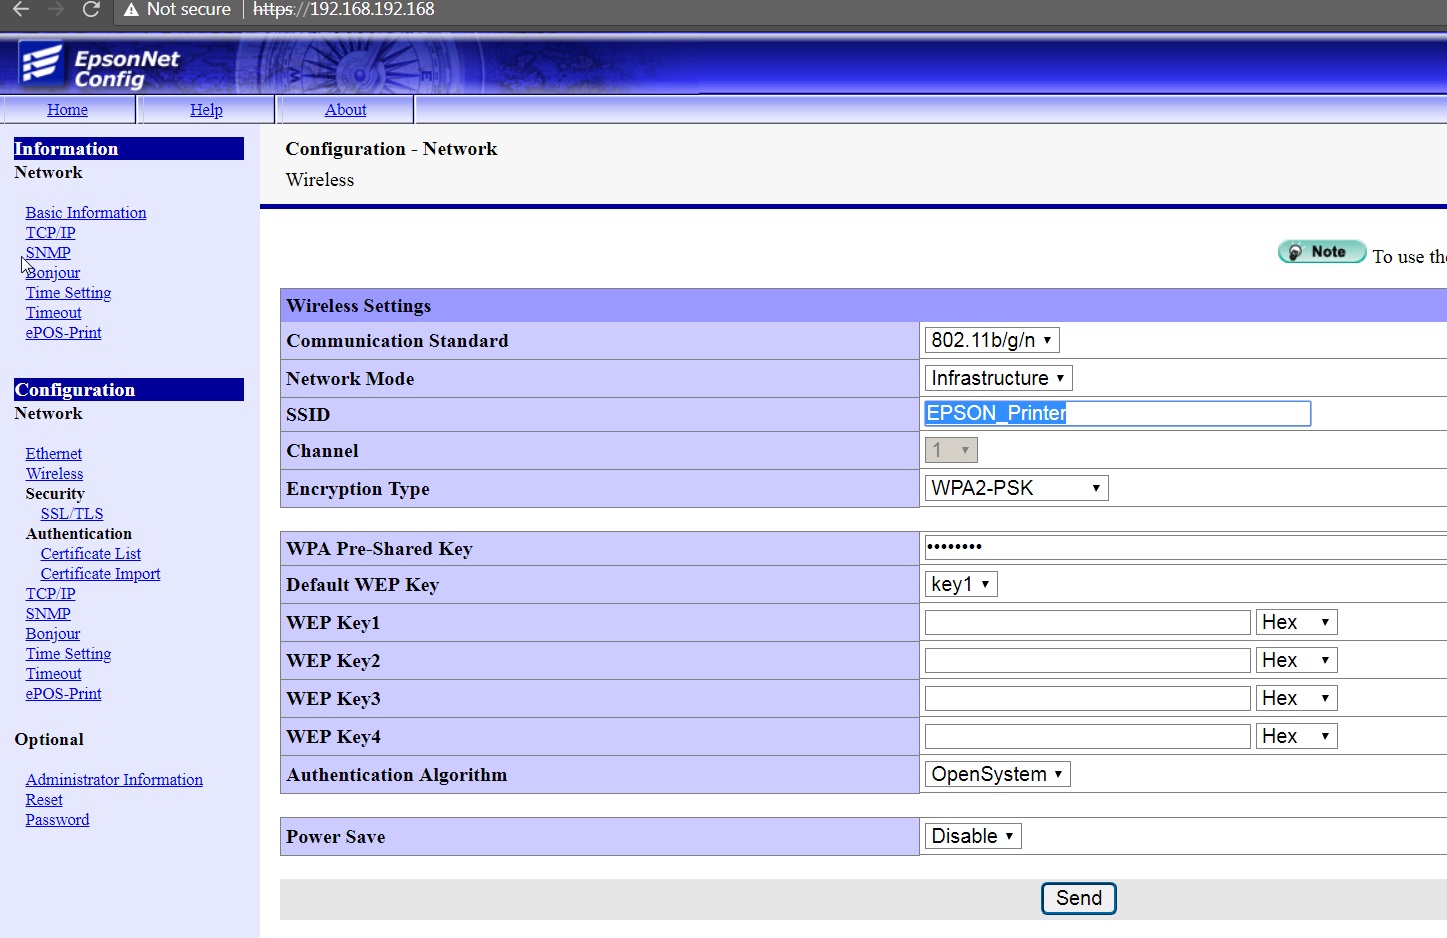
5. Click on Wireless under Configuration and then replace the default SSID – EPSON_Printer with your own WIFI SSID.
Important: SSID is case-sensitive, must enter it EXACTLY otherwise it won’t connect. Then click the Send button.
6. The printer will acquire a new IP address and print out a status page.
7. Connect the computer back to the wifi. Now the printer and computer are on the same network.
8. Print a test page from inTennis after configuring the docket printer settings.
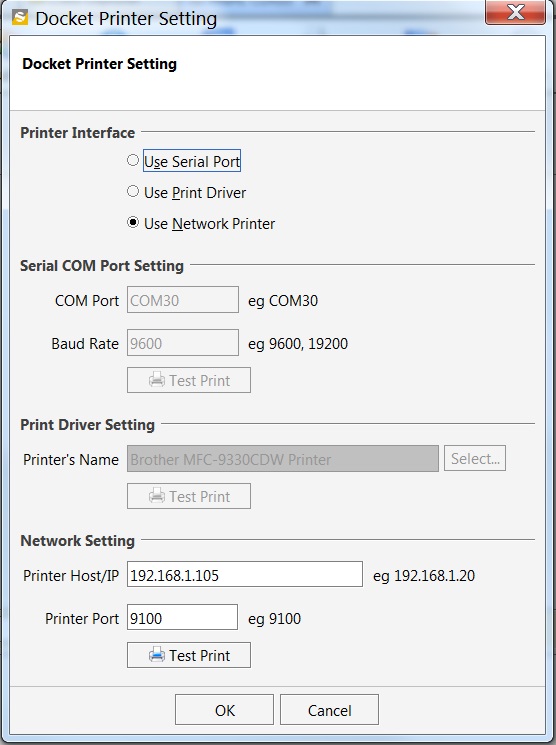
9. Make the IP Address of the printer static. On the printer configuration page click on configuration and then on TCP/IP. Change the Acquiring IP Address status from Auto to Manual. Also, change the IP Address of the printer to a higher value so as to avoid duplicate IPs. In this case, we are changing it from 192.168.1.105 to 192.168.1.200
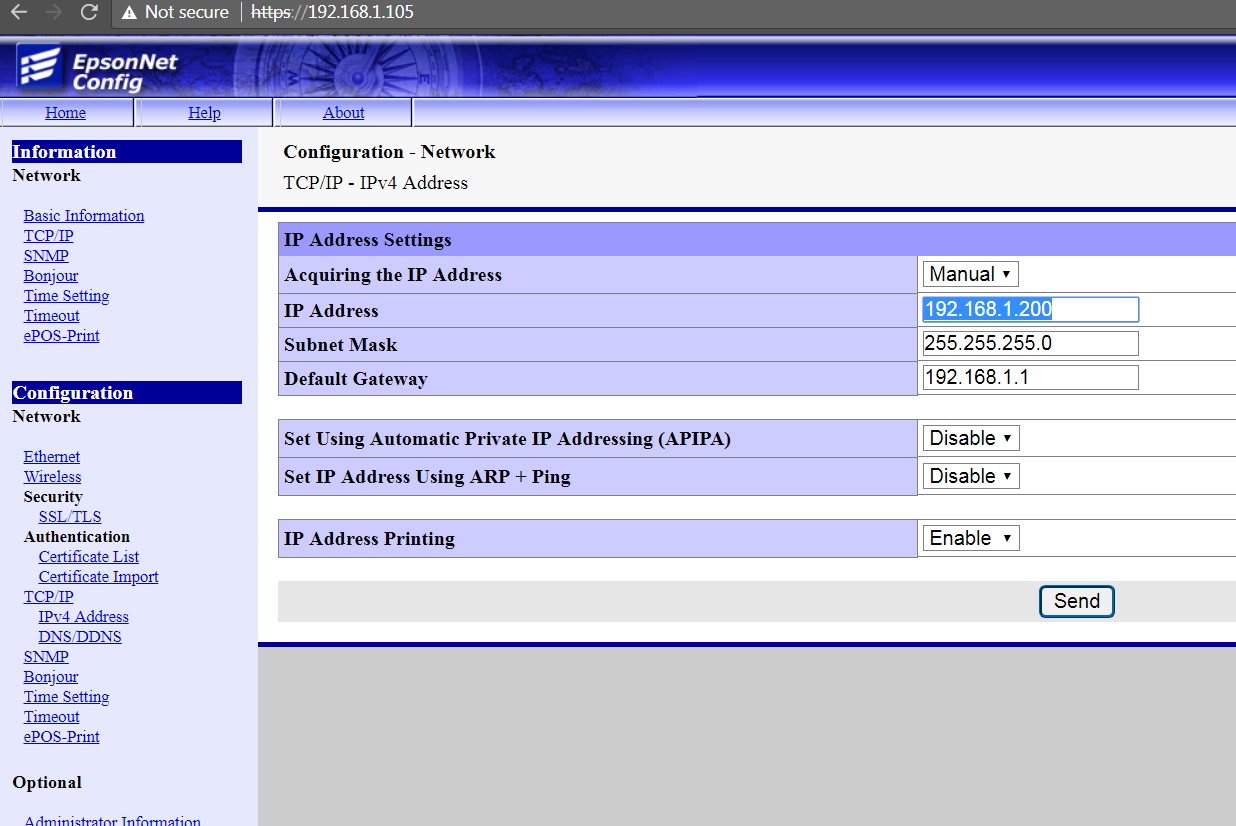
10. Type this new IP Address in inTennis docket printer settings and print test page to confirm.